
Understanding the GE Oven Sensor Assembly WB21X5301
The WB21X5301 is a vital component in General Electric ovens, affecting the appliance’s temperature regulation and overall cooking performance. Understanding its function, recognizing signs of failure, and knowing how to replace it can significantly enhance your cooking experience and prolong the lifespan of your oven. This article will guide you through all aspects of the WB21X5301, ensuring you are well-informed about this essential oven part.
What is the WB21X5301?
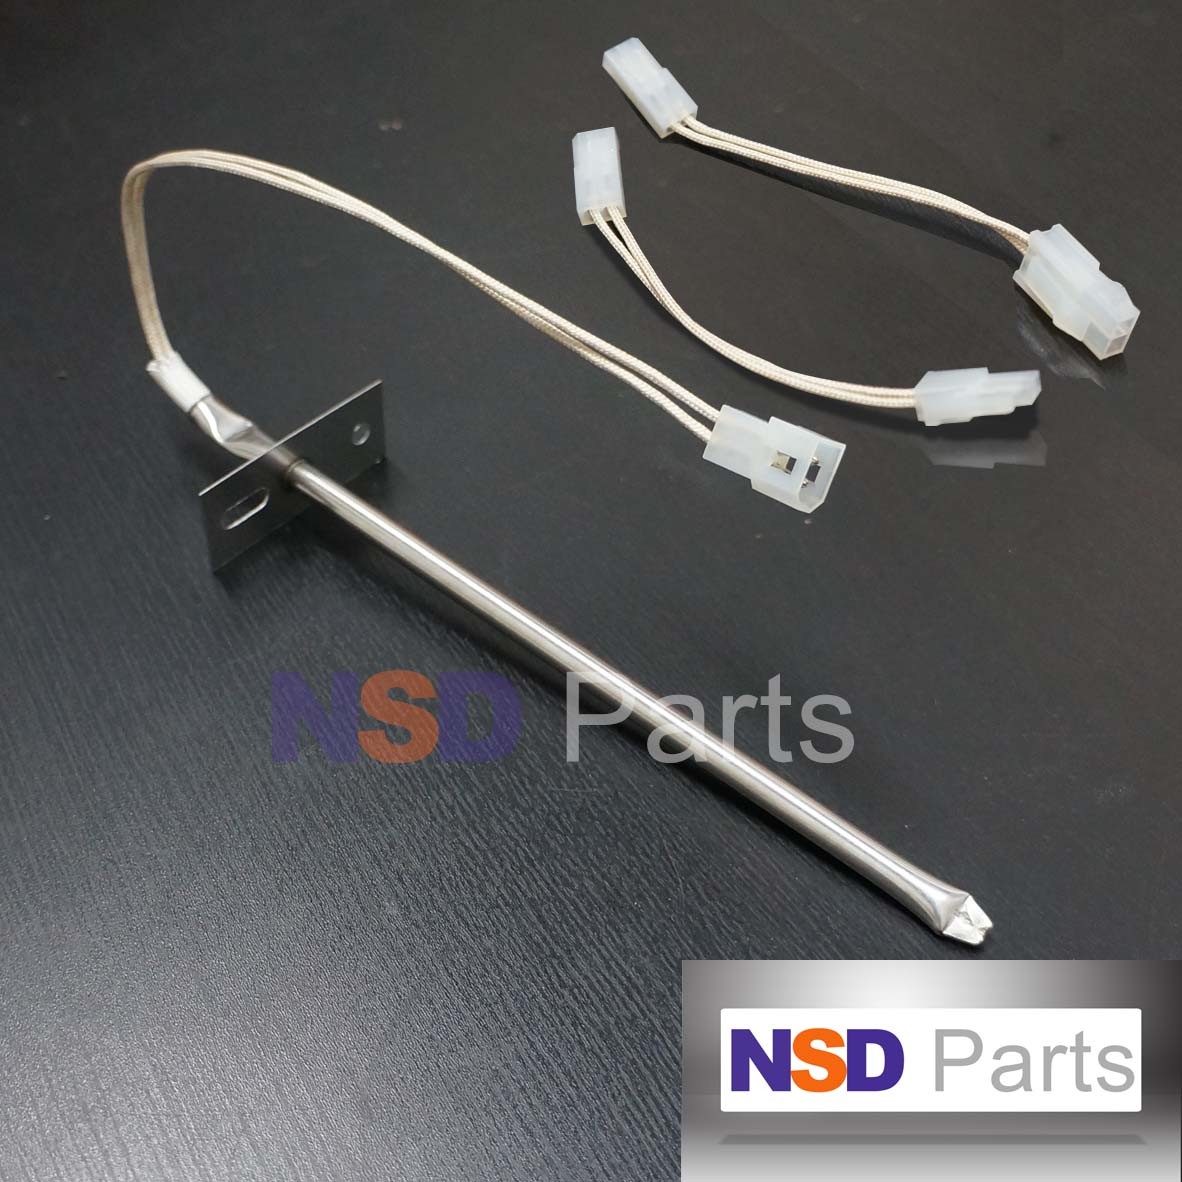
The WB21X5301 is an oven sensor assembly designed specifically for certain models of General Electric (GE) ovens. The primary function of this sensor is to monitor the temperature within the oven and relay that information to the control board. By accurately gauging the oven’s heat levels, the sensor helps maintain precise cooking temperatures, ensuring that your meals are cooked to perfection.
How Does the WB21X5301 Work?
The oven sensor uses a thermistor, which is a type of resistor that changes its resistance with temperature variations. As the oven heats up or cools down, the resistance of the thermistor changes, which in turn informs the control board of the current oven temperature. The control board then adjusts the heating elements, keeping the temperature variations within the set parameters. This feedback loop is essential for consistent cooking results, making the sensor a crucial component of your oven.
Common Signs of a Failing WB21X5301
For any appliance, knowing when a part is malfunctioning is important for timely repairs and maintenance. Here are some common signs that your WB21X5301 sensor may be failing:
- Inaccurate Cooking Temperatures: If you notice that your dishes are consistently overcooked or undercooked, the sensor could be misreporting the oven temperature.
- Oven Won’t Heat: A faulty sensor might prevent the oven from heating at all, as it could signal the control board that the oven is already at temperature.
- Constant Error Codes: Many modern GE ovens will display error codes on their digital interface. A failing sensor may trigger frequent error messages related to temperature control.
- Long Preheat Times: If your oven takes an unusually long time to preheat, the sensor might not be accurately assessing when the desired temperature has been reached.
How to Replace the WB21X5301 Oven Sensor
If you’ve diagnosed a problem with your oven sensor and have determined that it needs replacement, follow these steps to install a new WB21X5301 oven sensor:
- Disconnect Power: Safety first! Unplug your oven from the electrical outlet or turn off the circuit breaker to avoid electric shock.
- Remove the Oven Sensor Cover: Depending on your oven’s model, you may need to slide out or unscrew the cover that protects the oven sensor.
- Unscrew the Old Sensor: Use a screwdriver to remove the screws holding the sensor in place. Carefully pull out the old sensor, noting how it is connected.
- Disconnect Wiring: Gently unplug the wire connector from the old sensor. Make sure to remember the configuration for connecting the new sensor.
- Install the New WB21X5301 Sensor: Connect the wiring harness to the new sensor and then secure it in place with screws.
- Replace the Oven Sensor Cover: Put the cover back on, ensuring it is secure before restoring power to the oven.
- Reconnect Power: Plug the oven back in or turn the circuit breaker on. Test the oven by setting it to a specific temperature to ensure the sensor works correctly.
Conclusion
Understanding the importance of the WB21X5301 oven sensor assembly is crucial for any GE oven owner. By maintaining awareness of the sensor’s function, identifying signs of potential failure, and knowing how to replace it, you can ensure that your oven performs optimally, delivering perfectly cooked meals every time. Remember that regular maintenance is key to prolonging the lifespan of your appliance, so keep an eye on how your oven operates and address any issues promptly.